Table of Contents
Quick Stats: Ben Lomond Hike Track
Trailhead Location: Skyline Queenstown (via Tiki Trail or Gondola)
Distance: ~14 km return (from Queenstown town center)
Hike Time: 6–8 hours return
Elevation Gain: Around 1,438 meters
Summit Elevation: 1,748 meters
Difficulty: Moderate to hard (especially final push to the summit)
Season: Best from November to April
Cost: Free if hiking the Tiki Trail or $66NZD for the Gondola
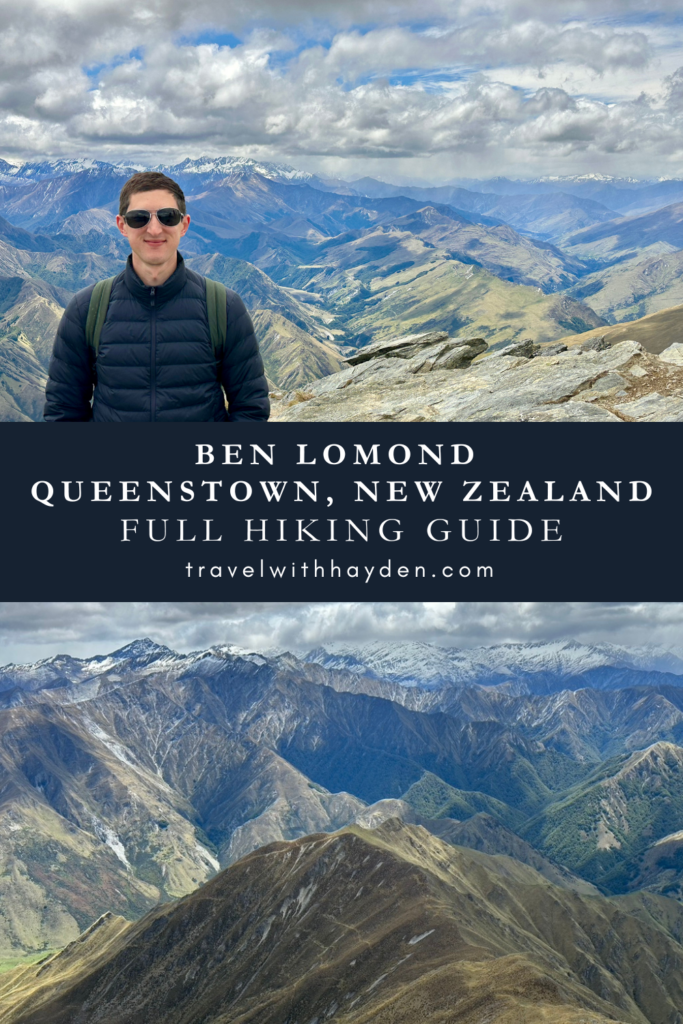
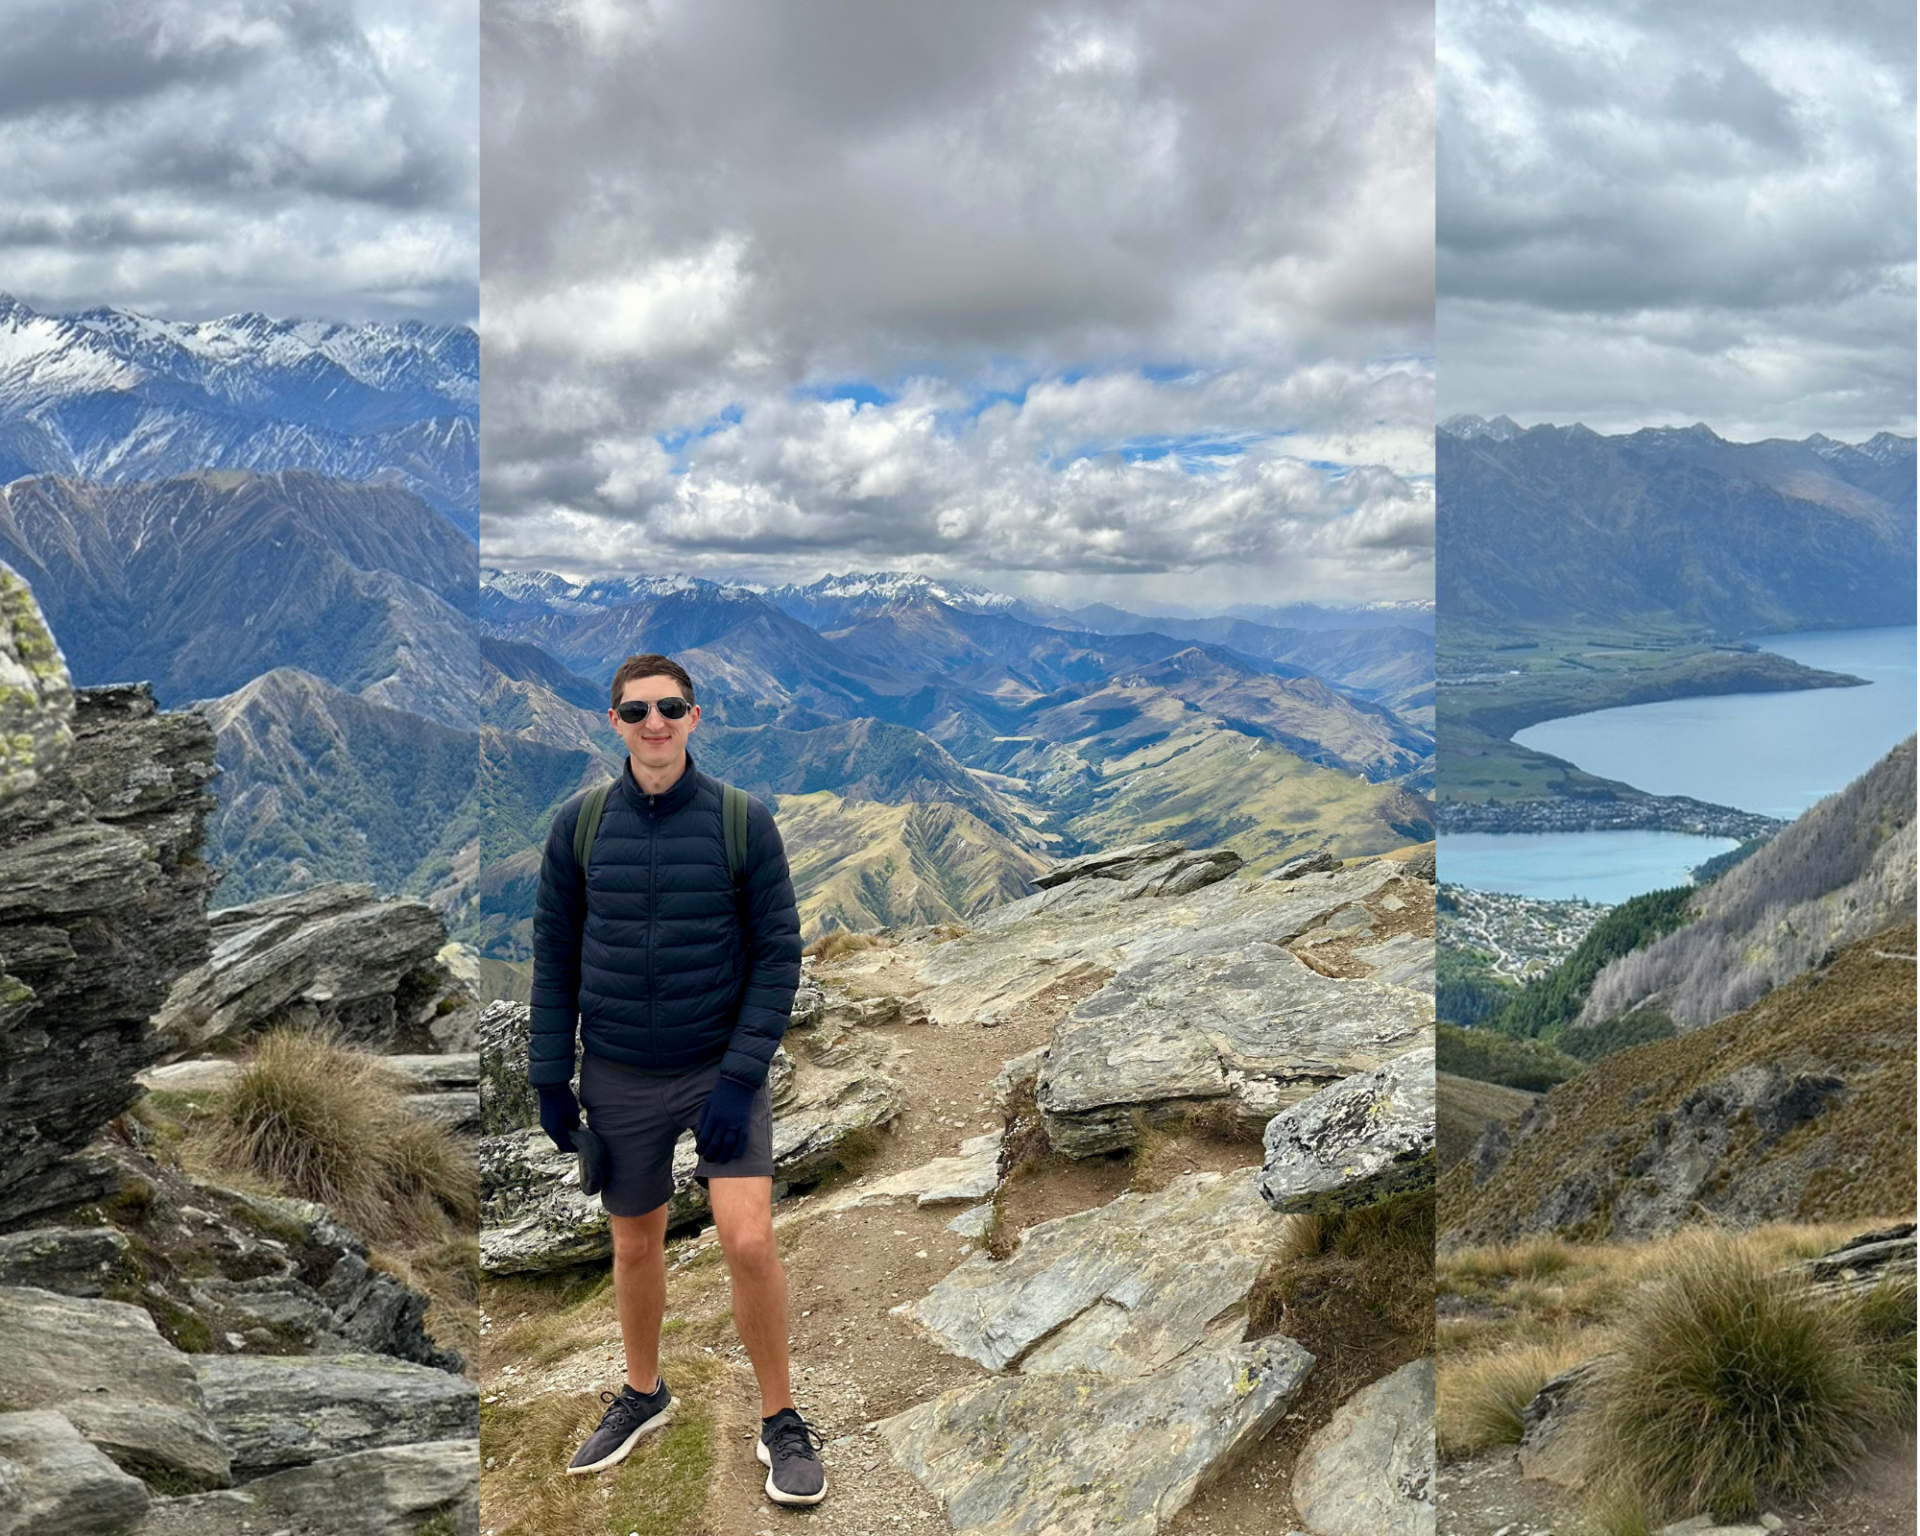
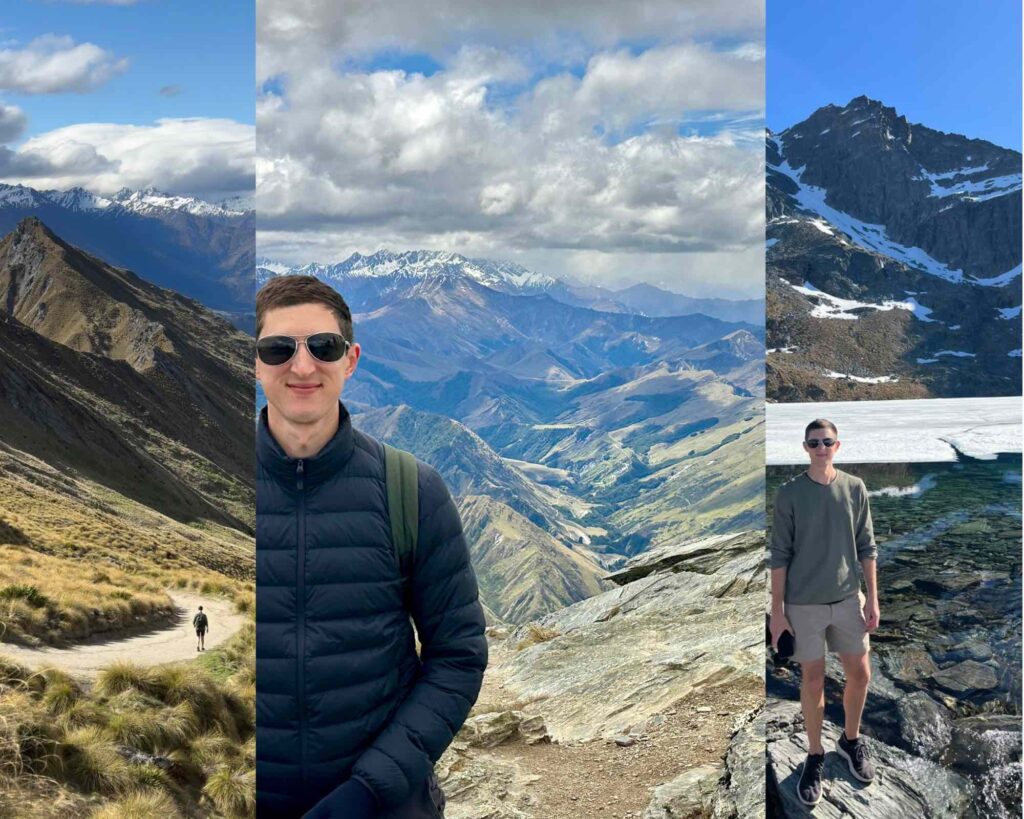
The Ben Lomond Track is the most iconic full-day hike in Queenstown, and for good reason. Within a few hours, you’ll climb from lakeside forest to an alpine summit with panoramic views over the Southern Alps, Lake Wakatipu, and even into Fiordland on a clear day. In this guide to the Ben Lomond hike, I’ll go over everything you need to know like what to expect on trail, what to pack, where to stay nearby, and so much more!
What makes the Ben Lomond hike so special is how accessible it is. The trailhead starts just steps from Queenstown, but don’t let the proximity fool you—this is a tough hike. I did it as the final challenge during 2 months of slow travel in New Zealand, and it completely surprised me with how intense it got near the summit.
Find a hotel near the Ben Lomond Hike in Queenstown on Trip.com!
Ben Lomond Track Overview: How to Get to the Ben Lomond Trailhead
There are two main approaches to the Ben Lomond Track: one is free, the other saves your legs some effort.
Option 1: The Tiki Trail (Free)
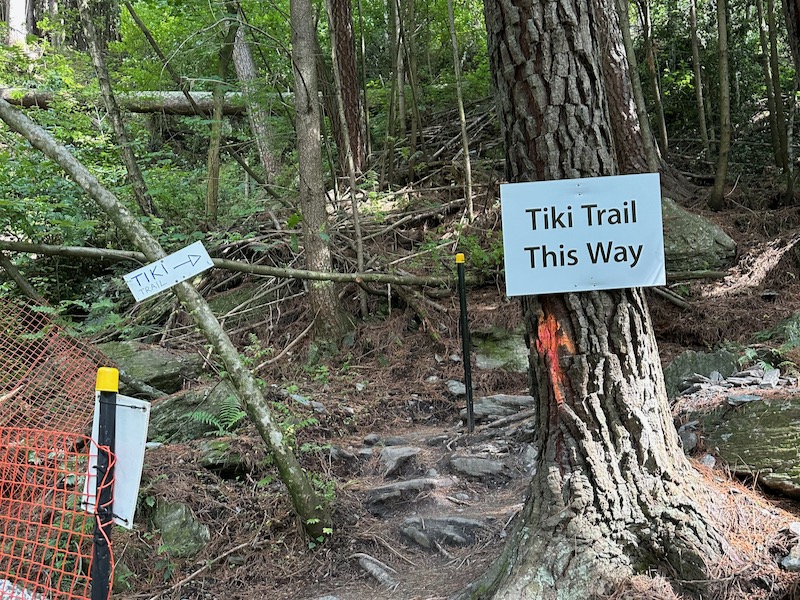
This is how I started my hike. The Tiki Trail begins at the base of the Skyline Gondola and takes about an hour to climb through native forest to the top of Bob’s Peak. It’s steep, rooty in parts, and a great way to warm up before you hit the open alpine sections.
If you’re on a budget or want to earn every step, this is a solid start.
Option 2: Skyline Gondola (Paid)

Alternatively, you can pay to ride the gondola to the same point. It’ll drop you off right at Skyline Queenstown, where the official Ben Lomond Track begins. Some people also take the gondola up and hike back down via the Tiki Trail to split the cost and effort.
Personally, I liked the full challenge of hiking both up and down, but if you’re tight on time or just want to skip the first incline, the gondola is a handy shortcut. Either way gets you to the start of the Ben Lomond hike.
What to Expect on the Ben Lomond Hike
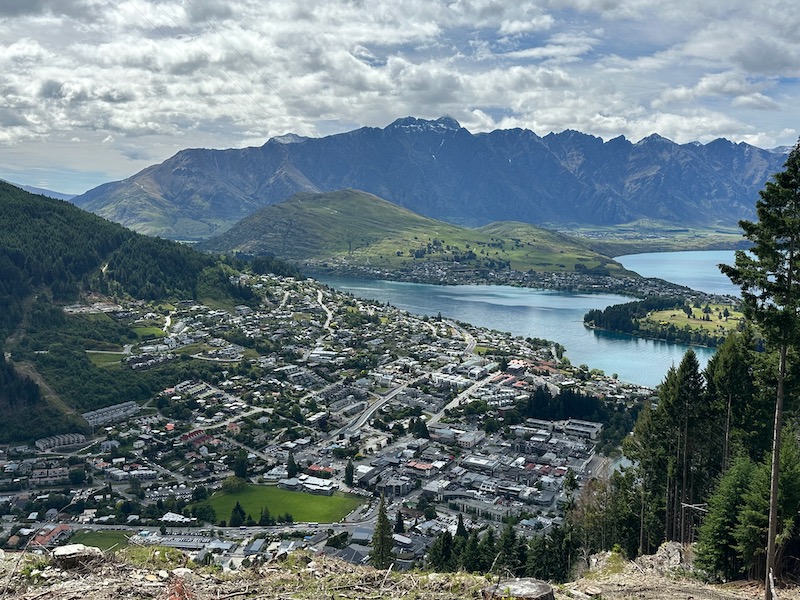
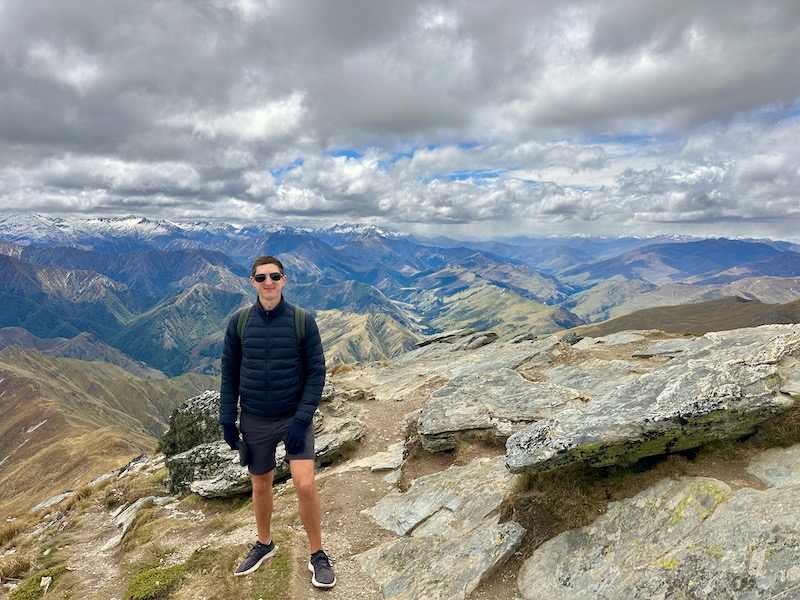
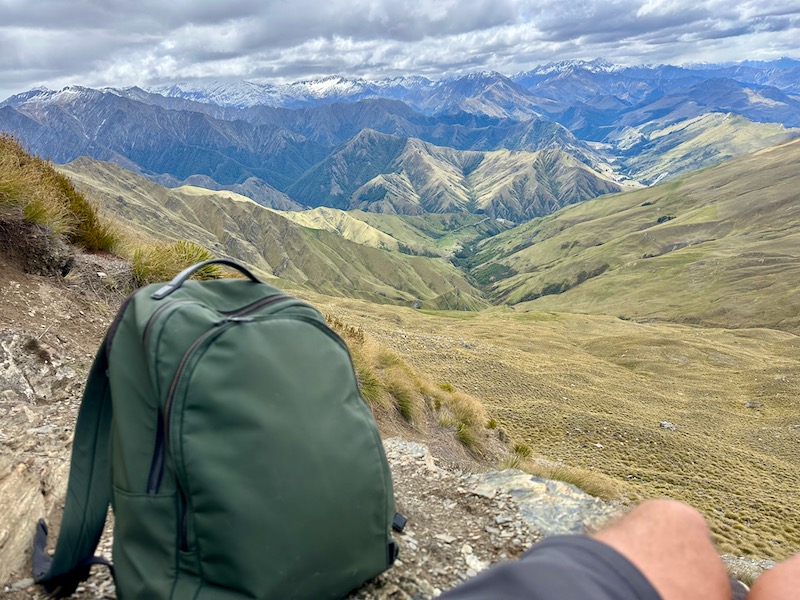
After the Skyline complex, the terrain opens up into golden tussock fields. The views get better with every step. You’ll be able to see across Queenstown, Lake Wakatipu, and out toward Cecil and Walter Peaks.
The Ben Lomond hike trail is well-formed and climbs gradually toward the Ben Lomond Saddle. This part of the track feels manageable and even peaceful. I had the place mostly to myself early in the morning, which made for a great break from Queenstown’s buzz.
The saddle itself sits at about 1,326 meters and is a popular turnaround point for those not keen on tackling the summit. Even from here, the views are incredible.
The Final Push: Saddle to Summit
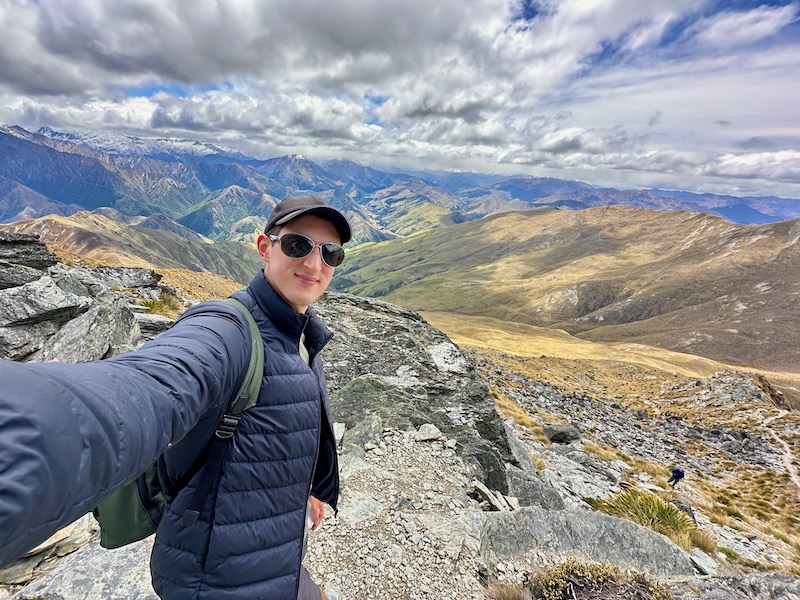
If you’re continuing to the summit (which I highly recommend), get ready for a tougher hike as you climb Ben Lomond. From the saddle to the summit, it’s only about an hour—but it’s steep, exposed, and significantly more demanding than the earlier sections.
This is where the Ben Lomond Hike turns from “scenic workout” to “leg burner.” The incline ramps up, and the footing becomes looser in places. At one point I looked up and wondered if I’d somehow wandered onto the wrong trail—it just felt so steep.
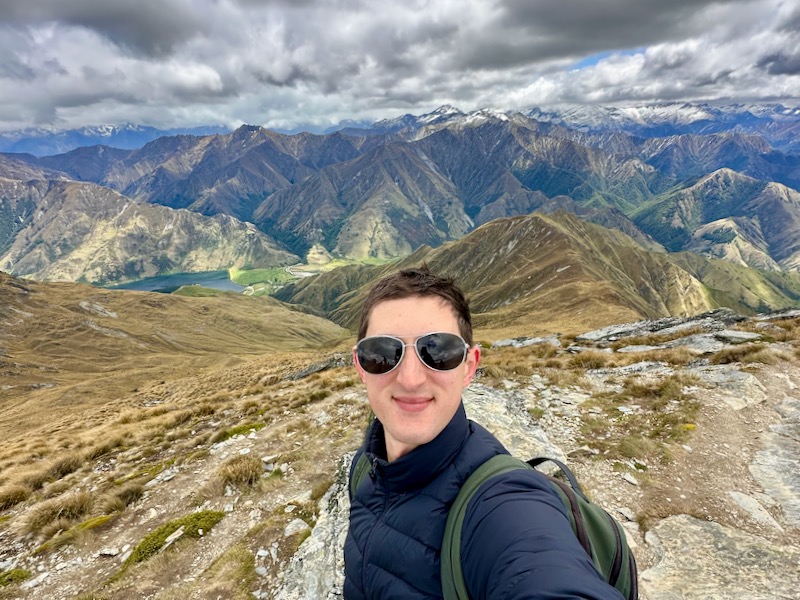
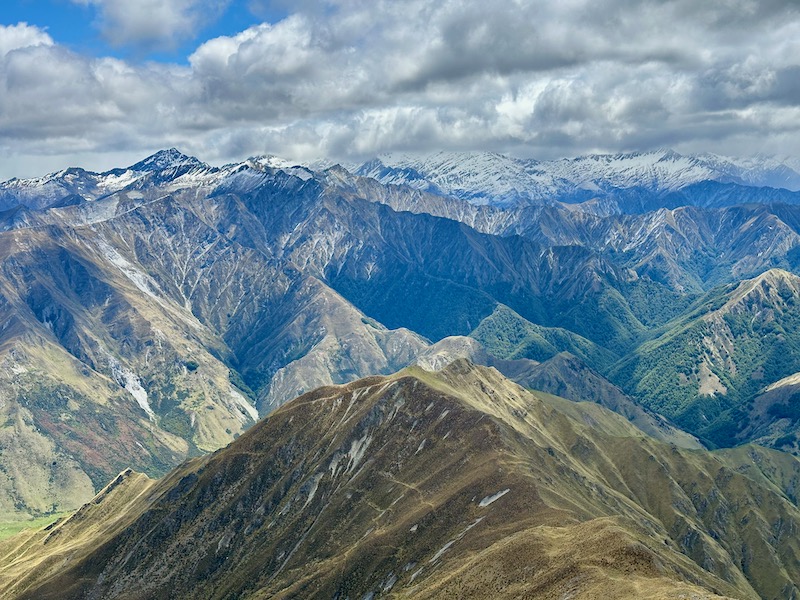
But if you keep going, the reward is massive. At the summit, you’ll get 360-degree views of the entire Otago region. On a clear day, you can see as far as Mt Aspiring and parts of Fiordland. I spent a solid half hour at the Ben Lomond peak just soaking it in, refueling, and taking some content.
Time and Distance Breakdown
Here’s a rough time estimate for each section of the Ben Lomond hike (based on my experience and a moderately fit pace):
| Section | Time |
|---|---|
| Queenstown to Skyline via Tiki Trail | 1 hour |
| Skyline to Ben Lomond Saddle | 2 to 2.5 hours |
| Saddle to Summit | 1 hour |
| Descent (Summit to Queenstown via same route) | 2 to 3 hours |
| Total Time | 6 to 8 hours |
No matter the time of year you plan to do the Ben Lomond hike, starting early is key. You want to make sure you have plenty of time to do the entire Ben Lomond track before it gets dark.
I took about 7 hours total, including a long break at the summit, lunch along the way, and a coffee at Skyline on the return. You could do it quicker, but there’s really no reason to rush.
What to Pack for the Ben Lomond Track
Weather in the mountains is unpredictable, even in summer. I was lucky to have clear skies, but still needed layers at the summit. Here’s what I’d recommend bringing:
- 2–3 liters of water (there are no water sources on the trail)
- Snacks or a packed lunch
- Windproof and waterproof jacket
- Warm layers (fleece or merino)
- Hat and gloves—even in summer
- Sturdy hiking boots or trail shoes
- Sunglasses and sunscreen
- Offline map or GPS app
- Phone with data (I used an Airalo eSIM and had coverage at higher elevations)
Best Time of Year to Hike Ben Lomond
The Ben Lomond hike is best tackled from November through April. I did the Ben Lomond hike in December and found the conditions to be perfect. During this time, the trail is generally snow-free, the weather is more stable, and the days are long enough to give you plenty of time on the mountain.
Summer (December–February)
- Warmest and most popular time to hike
- Early mornings are cooler and less crowded
- Bring sun protection and extra water
Autumn (March–May)
- Cooler temps, golden landscapes, and fewer hikers
- Weather can be more variable, so pack extra layers
Winter (June–August)
- Snow covers the track above the saddle
- Only attempt if you have alpine hiking experience
- The summit may be inaccessible without crampons and an ice axe
Where to Stay in Queenstown for the Ben Lomond Track

The beauty of the Ben Lomond Track is that you don’t need a car to access it. The trailhead—whether you take the Tiki Trail or the Skyline Gondola—is just a short walk from most accommodation in central Queenstown. Staying in or near the town center is your best bet for easy access, pre-hike breakfast, and post-hike recovery.
Recommended Areas to Stay:
- Downtown Queenstown: Walking distance to the gondola and Tiki Trail. Ideal for those without a car.
- Queenstown Hill / Frankton Road: Slightly elevated views, quieter at night, still close to town.
Queenstown Hotel Picks:
- Queenstown Park Boutique Hotel– Modern and elegant with exceptional service. Located on the edge of downtown, it’s peaceful yet perfectly positioned for walking to the trailhead.
- Kamana Lakehouse– Stylish and serene, Kamana is perched just above town with panoramic lake and mountain views. A great mix of comfort and style, with a restaurant and hot tubs onsite—ideal for a post-hike soak.
- QT Queenstown– Lakeside luxury with bold, eclectic design. QT combines boutique comfort with stunning views and a fantastic in-house restaurant—great for rewarding yourself after the hike.
- The Spire Hotel Queenstown– Small, luxe, and centrally located. If you’re after top-tier service and privacy in the heart of town, this is one of the best options.
- Novotel Queenstown Lakeside– A dependable and very central choice, especially for those who want lakefront access and quick trailhead access without splurging.
Find more hotel options near the Ben Lomond Track Hike on Expedia here!
Tips for the Ben Lomond Track Hike
Here are some key tips to help you have a safe, enjoyable, and successful day on the Ben Lomond hike.
- Start early. This is a full-day hike. Give yourself enough time to reach the summit and get back down well before dark.
- Bring plenty of water. There are no water sources on the track. Plan for 2–3 liters per person.
- Pack layers. Weather changes quickly, especially at higher elevations. Even in summer, it can be cold at the summit.
- Wear proper footwear. Hiking boots or sturdy trail shoes with good grip are essential, especially for the summit push.
- Use an offline map. Apps like Maps.me or AllTrails are helpful, although the trail is well-marked.
- If in doubt, stop at the saddle. The Ben Lomond Saddle offers fantastic views and is a solid halfway turnaround point if the summit feels like too much.
- Avoid the summit in bad weather. The final section is exposed and can be dangerous in rain, snow, or high winds.
- Use walking poles. They can help take pressure off your knees on the descent.
- Have phone data. I used Airalo eSIM and had signal most of the way. Handy for weather checks or emergencies.
- Don’t underestimate the summit section. It’s short but steep and demanding. Take breaks and give yourself time.
- Fuel up before and during. Bring high-energy snacks or lunch. I stopped mid-way for a sandwich and it made all the difference.
Can You Hike Ben Lomond in Winter?
The Ben Lomond Track is open year-round, but winter changes everything once you get above the treeline. From around May through October, snow is common past the saddle, and the summit often requires crampons, gaiters, and alpine experience.
Winter Considerations:
- Only go beyond the saddle if you’re confident in alpine conditions.
- Bring extra layers, including insulated gloves and a waterproof shell.
- Consider turning back at the saddle if conditions look risky.
If you’re not experienced, it’s best to either hike in summer or book with a local guide who knows the conditions.
After the Hike: Recovery Ideas
After coming down from the summit, you’ll probably be craving something warm and satisfying. Here are a few post-hike rewards I can recommend:
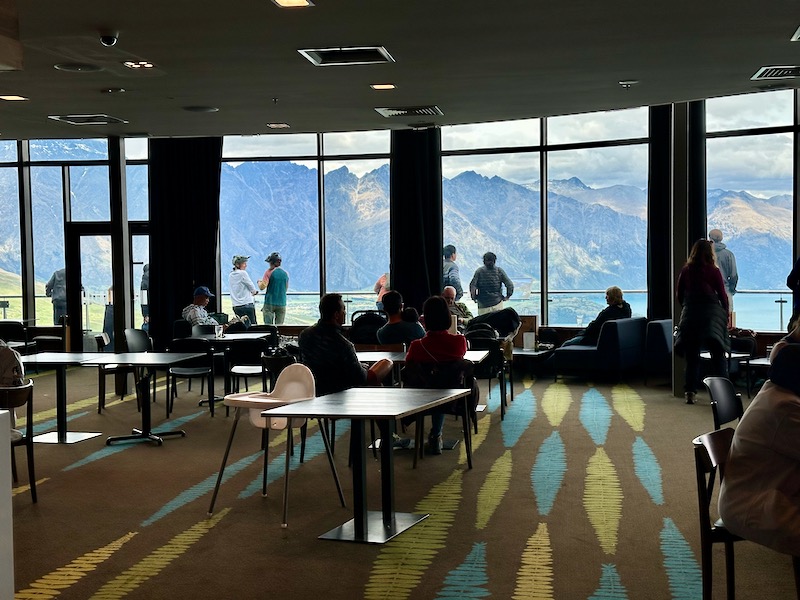
- Skyline Cafe – I stopped here for coffee and a snack on the way down. Great views, solid flat white.
- Onsen Hot Pools – Book in advance and soak your legs while watching the Shotover River roll by.
- Fergburger – You’ll probably be starving. Grab one of Queenstown’s famous burgers and take it to the lakefront.
Relax in Onsen Hot Pools in Queenstown after the Ben Lomond Hike!
Ben Lomond Track vs. Other Queenstown Hikes
Queenstown has no shortage of incredible hiking trails, but if you’re trying to choose the right one for your fitness level, time frame, or style of adventure, it helps to compare them side by side. Here’s how the Ben Lomond Track stacks up against other top hikes in the region.
Ben Lomond Track vs. Roys Peak (Wanaka)
Roys Peak is the most Instagrammed hike in the South Island. The track is a relentless zigzag up an open slope, with the reward being an incredible ridgeline view over Lake Wanaka and Mount Aspiring. It’s a must-do for many, but it can get crowded—especially at sunrise. You’ll need a rental car to get there, which you can rent in Queenstown.
- Best for: Big views, iconic photos, a physical challenge
- Why choose Ben Lomond instead: You want something just as challenging and scenic, but closer to Queenstown and less saturated with sunrise tripods
Learn more about hiking Roy’s Peak with my complete trail guide!
Ben Lomond Track vs. Lake Alta Track
Lake Alta, located up at The Remarkables ski field, is a short but stunning alpine hike to a glacial lake. It’s a 1.5 km one-way track that starts near the top of the ski road and climbs to a beautiful cirque basin surrounded by jagged peaks.
- Best for: Quick alpine experience, lake views, short morning or afternoon trip
- Why choose Ben Lomond instead: You want a full-day adventure, a real summit challenge, and sweeping panoramic views rather than a single destination
Learn more about the Lake Alta Track with my complete trail guide!
Ben Lomond Track vs. Queenstown Hill
Queenstown Hill is the go-to short hike in town. It’s a half-day effort (2–3 hours return), and the views from the top—especially at sunrise—are surprisingly rewarding. The trail winds through pine forest before opening up at the Basket of Dreams lookout.
- Best for: Beginners, quick hikes, sunrise missions
- Why choose Ben Lomond instead: You want something more remote, challenging, and with true summit views over the Southern Alps
Ben Lomond Track vs. Routeburn Track (Day Hike)
While the Routeburn Track is a multi-day Great Walk, many people just hike the Routeburn Falls Hut as a return day trip. It’s an immersive experience through mossy forest, waterfalls, and alpine valleys—but the big summit views are reserved for those doing the full track.
- Best for: Waterfalls, forest lovers, those doing part of a Great Walk
- Why choose Ben Lomond instead: You’re after a true summit in one day, and you want to avoid the logistics of arranging transport to and from Glenorchy
Why Ben Lomond Track Stands Out
What sets the Ben Lomond Hike apart is its unique mix of accessibility and adventure. You don’t need a car, you don’t need a permit, and you don’t need special gear (in summer, at least). Yet you still get a full alpine hiking experience, complete with summit views, changing terrain, and enough physical challenge to make it memorable.
For travelers looking to go beyond the tourist trails without getting too remote, Ben Lomond Track is the perfect middle ground.
Final Thoughts: Is Hiking the Ben Lomond Track Worth it?
The Ben Lomond Track is everything you want in a hike—convenient, challenging, and visually rewarding. You don’t need to drive anywhere or book a tour. You just walk out your front door, climb a mountain, and come back with stories.
It surprised me in the best way. I underestimated it at first, thinking that something so close to town would be easy. It’s not. But it’s absolutely worth the effort.
If you’re traveling to Queenstown and you only do one hike, make it this one. Just come prepared, take your time, and enjoy the views.
Frequently Asked Questions (FAQs)
How hard is the Ben Lomond Hike?
The hike is considered moderate to hard. The first few hours are a steady uphill walk, but the last hour to the summit is steep and demanding.
How long does the Ben Lomond Hike take?
Most people take 6 to 8 hours return, depending on pace and how long you spend at the summit. I took 7 hours, including breaks and time to enjoy the views.
What should I bring on the Ben Lomond Hike?
Essentials include water, snacks, warm layers, a rain jacket, sunscreen, and good hiking shoes.
Are there toilets on the Ben Lomond Trail?
Yes. There are facilities at Skyline Queenstown at the top of the gondola plus 1 toilet near the saddle.
Is the Ben Lomond Hike suitable for beginners?
It’s doable for fit beginners who are prepared and don’t rush. Many turn back at the Ben Lomond Saddle, which is a fantastic goal for a first alpine hike.
What are the views like at the top of Ben Lomond Track?
Incredible. From the summit, you’ll see Lake Wakatipu, The Remarkables, Mount Aspiring, and on very clear days, parts of Fiordland National Park. It’s one of the best viewpoints in the region.
Can I hike it for sunrise or sunset?
You can, but it requires headlamps, navigation skills, and warm gear. Sunrise hikes are more common. Be cautious with descending in the dark.
Is Bob’s Peak the same as the Ben Lomond Track in Queenstown?
No—Bob’s Peak is the starting point, but the Ben Lomond Track continues to the mountain summit with panoramic views.
Pin this Post for Later!